
Why and How You (Yes, You!) Should Try Bike Packing!
Hey there! I’m Casey, your friendly neighborhood BFF Community Coordinator and Marketing and Sale Manager! I love bikepacking, and I want you to love it too! Or I at least want you to give it a try, and then you can make your own opinions from there, I’m not the boss of you. But if you like biking and especially like adventuring on your bike, you’re already halfway there, and bike packing has opened my life up to so much adventure, joy, discovery, and self-confidence.


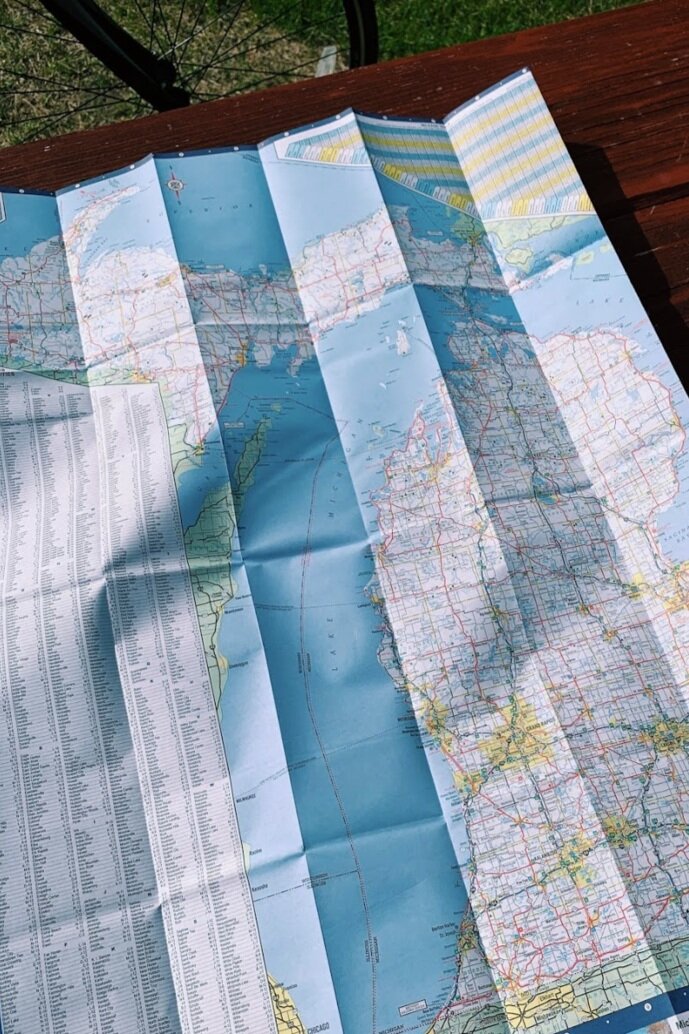
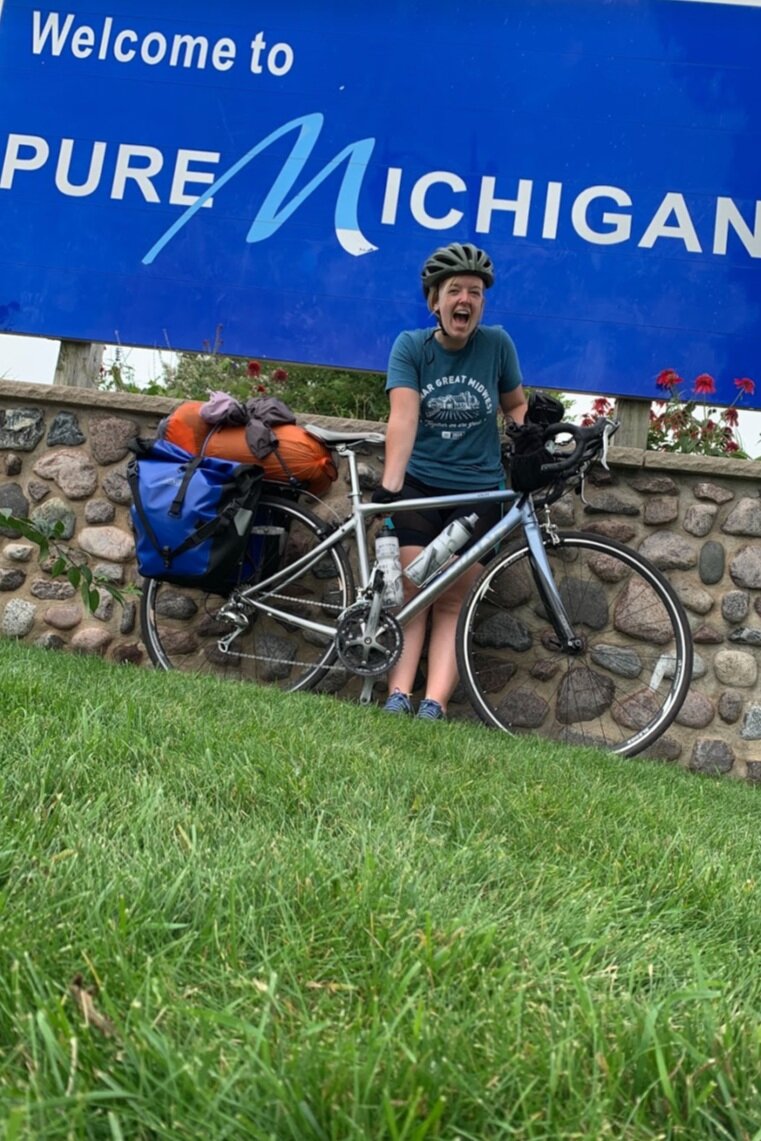
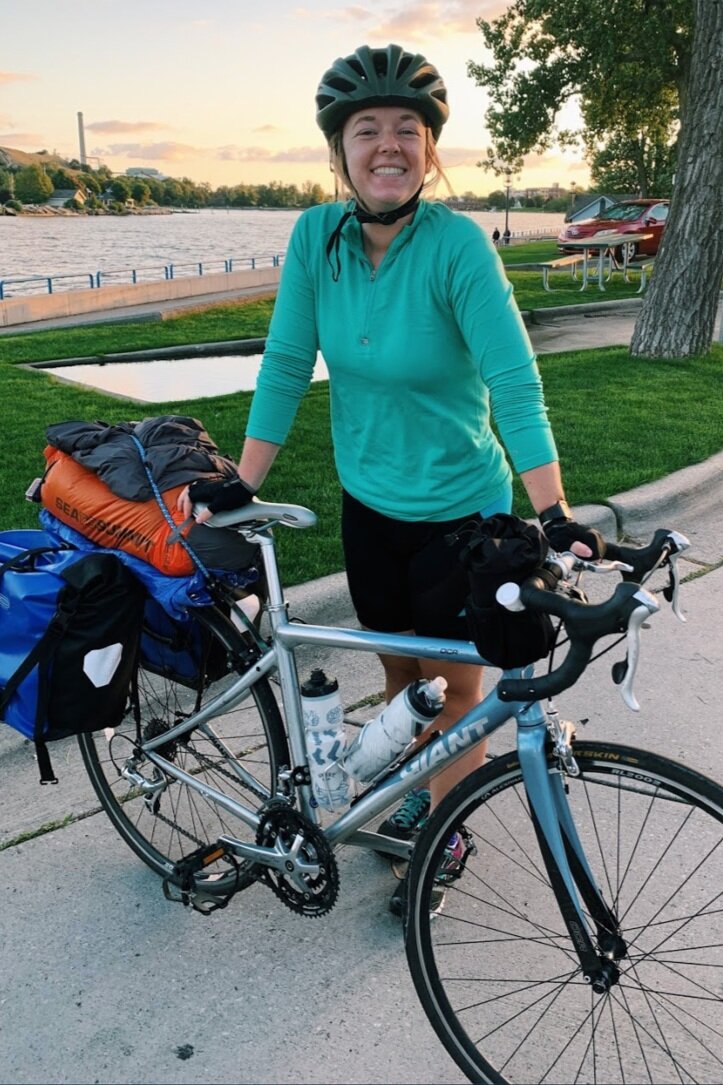
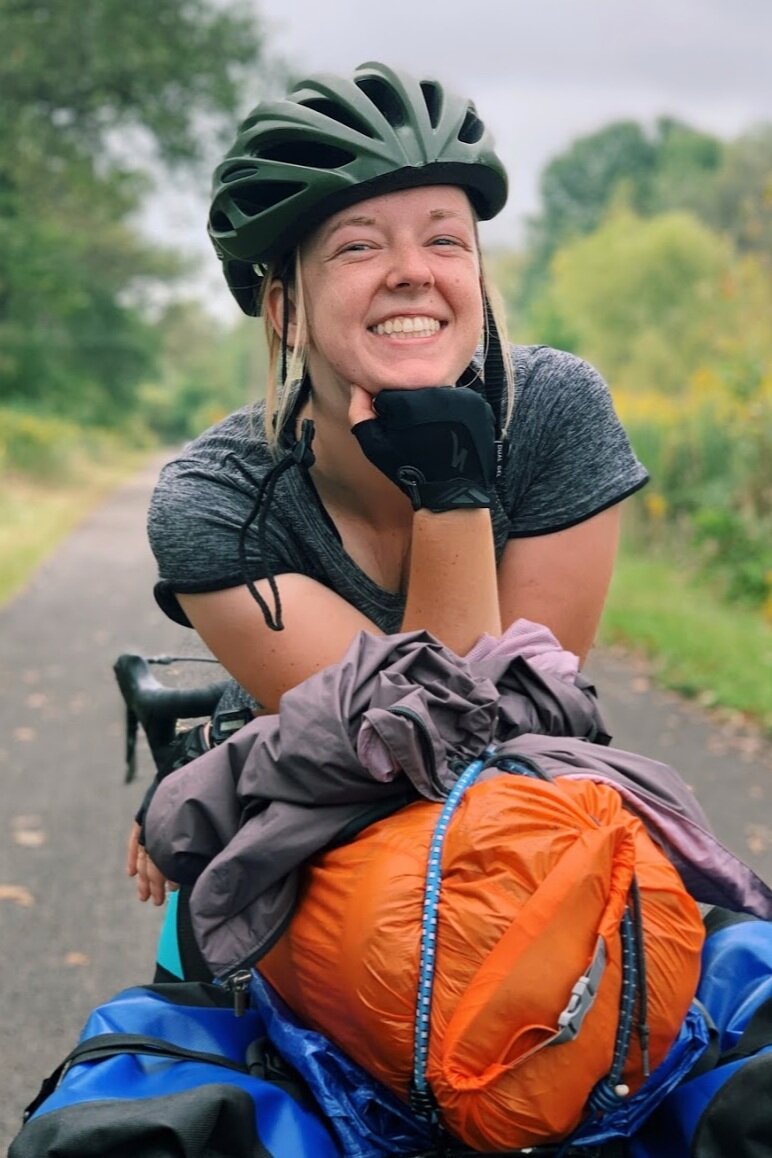
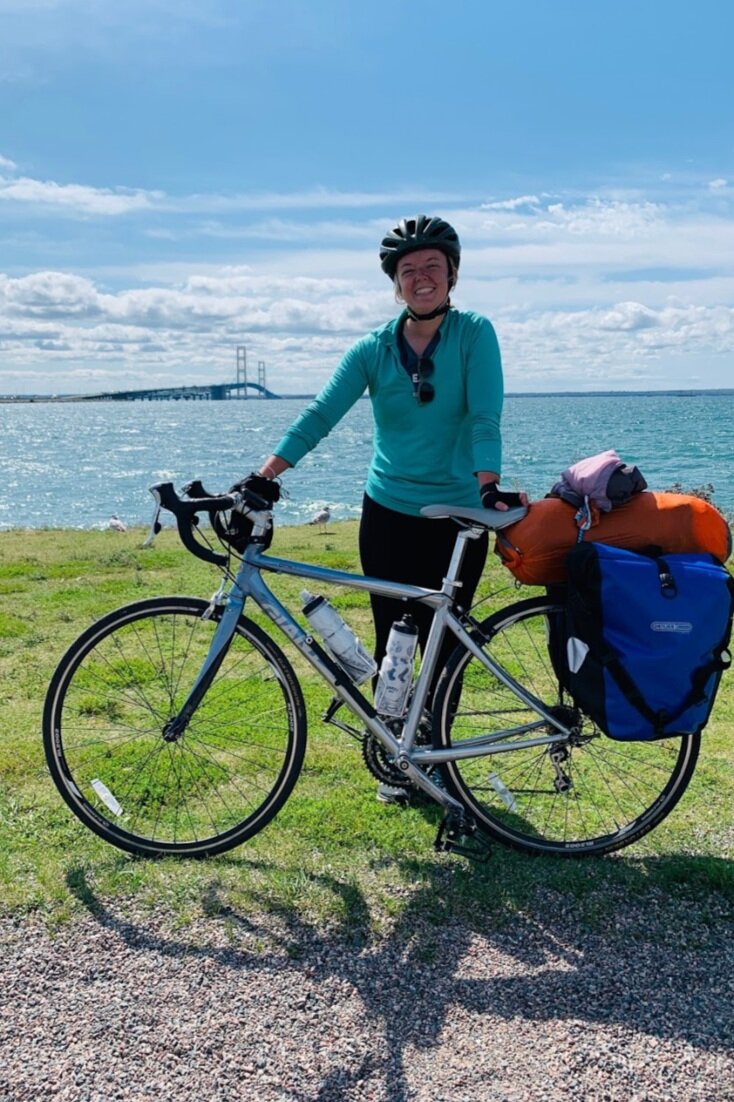
In October of 2019 I quit my job and bike-packed solo for 3 weeks all the way around Lake Michigan. The trip took me 20 days, over 1,000 miles, through 3 states. It was easily one of my favorite things I’ve ever done, and I still think about the trip often with fond and happy memories. It showed me how independent, brave, self-sufficient, and strong I have the capacity to be. There’s something exciting and freeing about knowing that you’re carrying everything you need to survive on your human-powered machine.
But I didn’t start with a thousand mile trip! I started with a 5 mile commute, then a 20 mile outing, then a 150 mile overnight trip that I spent a year planning and preparing for. Whatever level of biking or fitness you are at, you can put a tent on your bike and go on your own adventure! I think everyone should try biking away from their home, spending a night in the wild, and come back the next morning, just once, because it’s a beautiful way to get in better touch with your community, your body, nature, and your sense of adventure!
WHAT YOU’LL NEED:
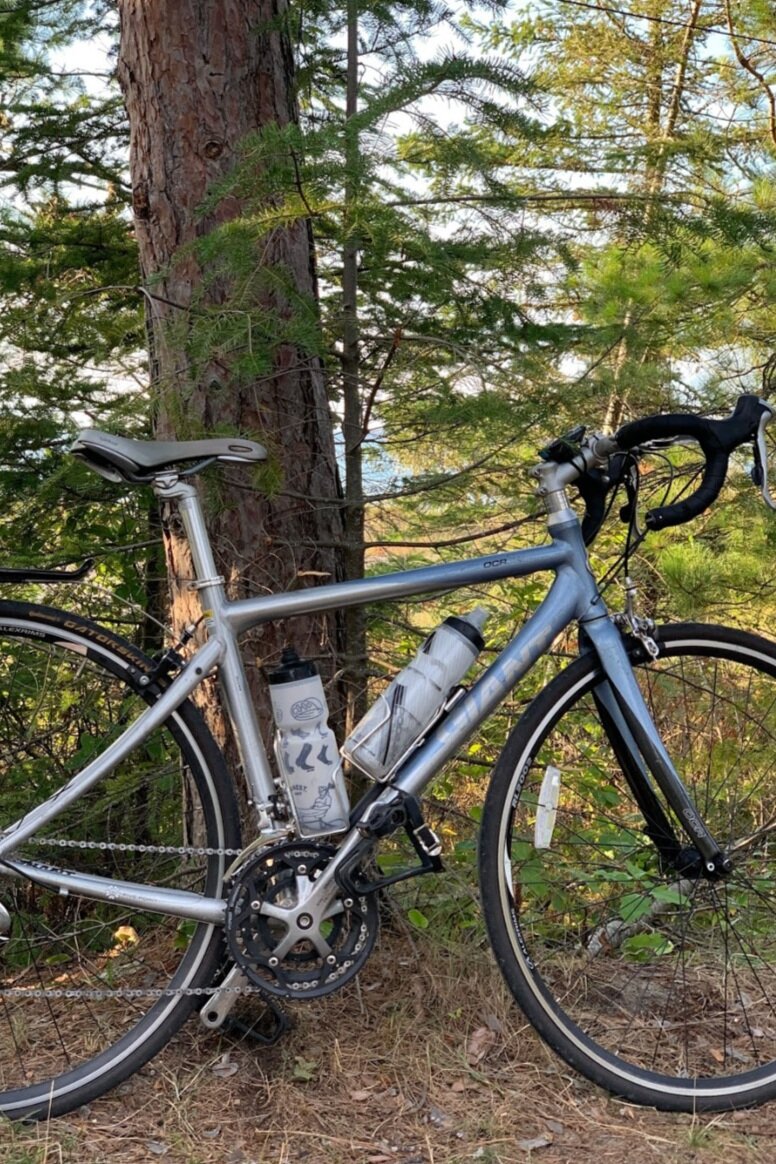
A bike!
There are bikes designed specifically for bikepacking (and it sure gets specific, see last month’s blog post for more on this topic!) but if you’re just going out on a one day adventure, you can just use the best bike in your size that you can get your hands on! The best bike, after all, is the one you actually ride and love. Specified bikes might be faster or more comfortable, but if you have a bike that you ride often and are comfortable on and familiar with, it can probably make the journey!
At the time of my first bike trip I was riding on a heavy vintage steel Schwinn from the 70’s. While it could get me around the city, I was able to borrow an aluminum road bike from a friend and give it a good test ride to make sure it was a comfortable ride for my short overnight trip. If you have a generous friend with a bike in your size, that might be a good option, or maybe if you’re really excited about the idea, it’s time to go shopping for a new bike!
You want your bike to be in good working condition, so it’s always a good idea to stop in your local bike shop for a visit if you haven't been recently and get a tune-up! You’ll also want to be able to do the most basic and frequent bike repair needed - flat fixing! (If you don’t know how, you can come to our Fix-A-Flat Clinic!!) Bring your flat kit so nothing can stop you from rolling.
A rack!
You’ll need a few things to survive a night away from home, and carrying things that far in a backpack isn’t good for your back! A rack for the rear of your bike is a simple piece of equipment that will help you carry what you need. If you don’t already have one, they start at around $40 and are simple to install yourself if you don’t want to pay for install.
This will allow you to strap large items to the top of the rack to carry with you and put smaller items in bags attached to the sides. You can also get front racks, frame bags, seatpost bags, and more, but if you’re looking to just test out this bikepacking thing, a rear rack might be the most affordable and easy option to get started.
Bags/panniers/tubs!
You need a way to carry your stuff! Ortlieb makes wonderful panniers that will last you a lifetime if you have a bit of money to invest in your set up. Some people like to spread out their gear weight across the bike and will get a frame bag and seatpost bag to hold their gear. If you’re doing just an overnight trip, you might get away with just a rack and using bungee cords to strap things to the top. If you’re on a tight budget, google “Cat Litter Panniers” and learn how to turn plastic buckets into strong panniers for cheap!!
Somewhere to sleep!
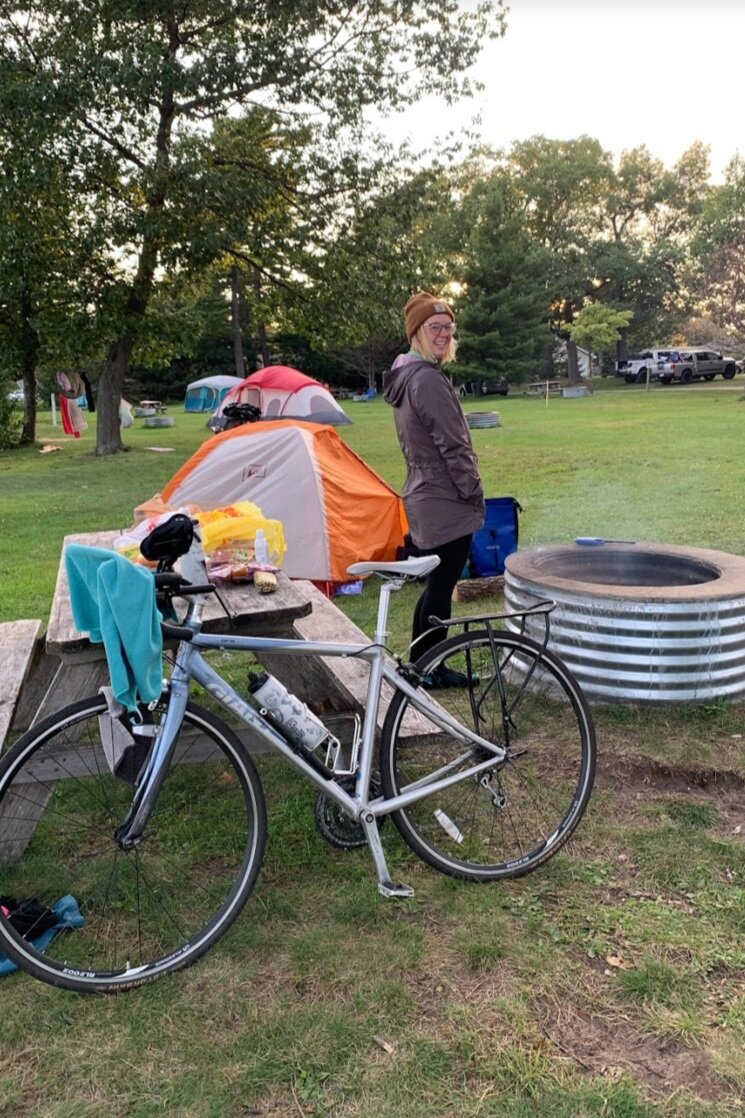
You’ve got a lot of work ahead, and somewhere to rest at the end of the day is going to feel wonderful. I suggest camping, because if you live in the city like I do, there’s nothing quite like sleeping surrounded by nature to give you a little reset. If you choose this route, you’ll want to pick a campground in biking distance of your home, and you’ll need a tent or hammock as well as a warm sleeping bag and probably a sleeping pad. Most modern tents pack down fairly small, and you can strap these right to the top of your rack.
Another great resource to check out if you’re in the Chicago Area and you don’t own your own gear is to rent from the Cook Country Forest Preserves. You can get everything you need cheaply! Check them out here: https://fpdcc.com/things-to-do/camping/camping-gear-rental/
However, if sleeping outside on top of biking a longer distance than you’ve ever tried before seems like too much adventure for one weekend, you can always plan for the end of your route to be at the house of someone you know, or at an Air BnB, hotel, or other destination.
Some food and snacks!
You’ll need both food to fuel your ride and dinner when you arrive at your destination! I like to carry CLIF bars because they give me lots of power and fuel for a small size. I end up eating half a bar for every hour of exercise on my tours - if you’re working out for hours at a time, you’ll need to be refueling! You can also pack fruits, peanut butter and bread or bagels, bananas, and so much more. Just think of foods you will actually want to eat, otherwise its a waste of space and weight in your precious cargo bags. If you don’t think you’ll want to be eating on the road or cooking at your campsite, just pack power bars to get you through the ride and bring money to buy your meal when you arrive!
Comfy Clothes!
You’ll want to be wearing clothes you can move around in while exercising, that are also weather appropriate! It’s always a good idea to have waterproof clothing along on your trip, just in case you run into some weather. Consider how cold it could get at night and prepare accordingly.
If you have bike shorts this could be a great time to break them out, or perhaps you want to consider investing in your first pair! They can make long days in the saddle much more comfortable. Other than that, a lot of bikepackers like to just wear t-shirts and shorts, sometimes even regular sneakers instead of clipless bike shoes. It can be as casual or “formal” bike clothing as you want - comfort is most important!
One note, if you do wear “street shoes” - find your pair with the strongest and least flexible sole possible. Many tennis or gym shoes have a very flexible sole which is good for running but bad for hours on metal platform pedals on a bike.
Navigation
You’ll need a way to navigate! While on my trips I’ve met a couple of wonderful older riders who would tell me about touring in the 80’s, when you had to request paper maps from AAA and mail your money ahead of you in PO boxes across your trip because you didn’t have a credit card. Things are a lot easier now, and if you have a smartphone, you have all you need to navigate! I usually just use the bike setting on Google Maps and follow that, sometimes I will also turn it to the driving setting and click “no tolls, no highways” if I want to ride on roads or shoulders with my bike. There are also plenty of bike apps that have great navigational tools as well, look at our blog post from March 2021 for more on this!
Friends!
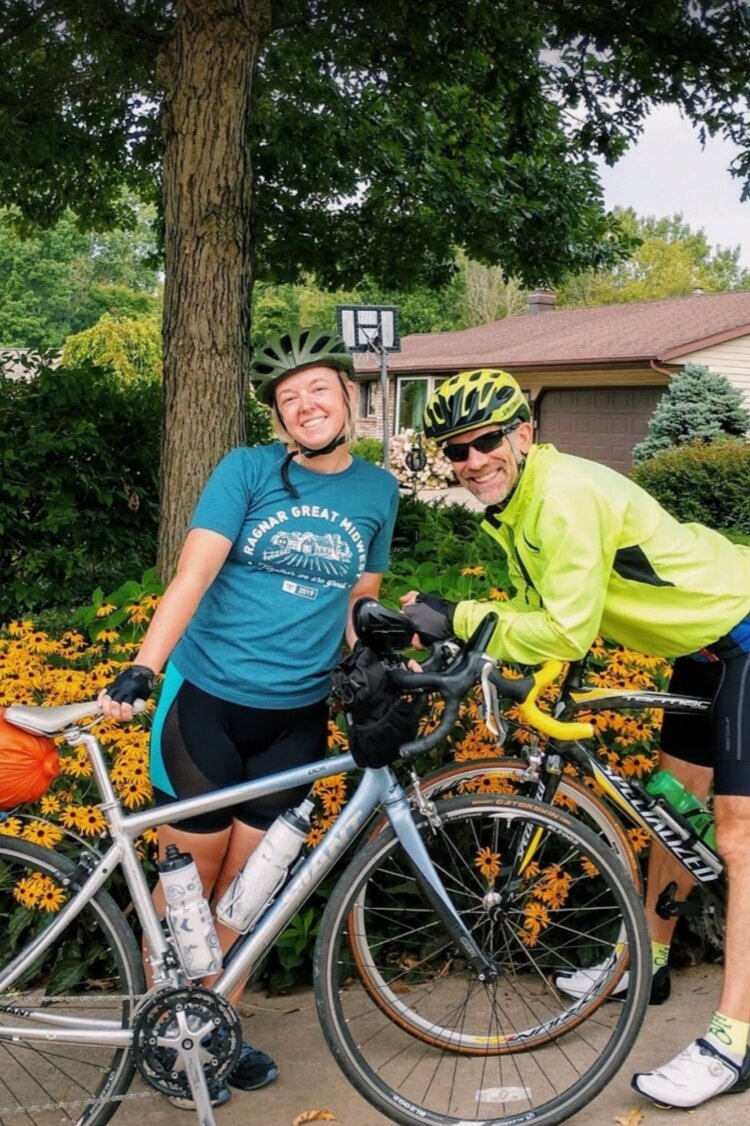
Any adventure is better with buddies! Grab your favorite bike pals and take them along for the ride. Plan your distances and speeds to the slowest member’s abilities, and remember to keep it fun - hustling everyone through a 100 mile day when the group isn’t at that level isn’t going to create fond memories looking back.
If you want to go alone, that’s always an option too! I did my biggest bike trip solo, and it was a wonderful experience. You just want to be sure to take any extra safety measure you may feel that you need - I carried pepper spray with me, but it was more for my mother’s peace of mind than for mine. A cell phone is often the best security tool you can have, and common sense and caution will take you far.
A Backup Plan ;)
If you’re very nervous about your adventure, it can help to think about some of the factors that make you apprehensive and try to plan for those. One great trick, especially if you’re starting in Chicago, is to bike near a train line! If you plan your route along a Metra line, then if anything goes wrong or you just wake up the next morning and want to call it quits, you already have a back up plan for your ride home.
Additionally, I always find a friend with a car and let them know that if anything goes terribly wrong, I’m going to be calling them to come save me. I’ve never needed the reinforcements, but it’s nice to know I have them!
And if you have your cell phone on you, you can always figure out a backup plan. I’ve looked up nearby bike shops to re-route for a quick repair, changed my routes to avoid a closed road, or looked up the closest restaurant for a quick re-fuel. With today’s technology, we’re never too far away from help!
Basics Packing List
Bike (in working condition!)
Flat Kit
Rack
Panniers/bags
Tent/hammock (or somewhere indoors to sleep!)
Sleeping bag + pad
Food + snacks
Comfy Clothes
Navigation
First Aid Kit
Your cell phone (+ charger or battery pack!)
Some Destinations suggestions:
Indiana Dunes National Shoreline
Camp Bullfrog Lake
Blackwell Forest Preserve
Illinois Beach Nature Preserve